RAPID PROTOTYPING
Rapid prototyping is a technique that is revolutionizing the way products are designed and brought to market. The process consists of several key stages that allow for the rapid and efficient transformation of concepts into physical models. In this article, we will discuss in detail the individual stages of the rapid prototyping process, including 3D scanning, reverse engineering, CAD design, and 3D printing.
1. Conceptualization and Creation of the 3D Model
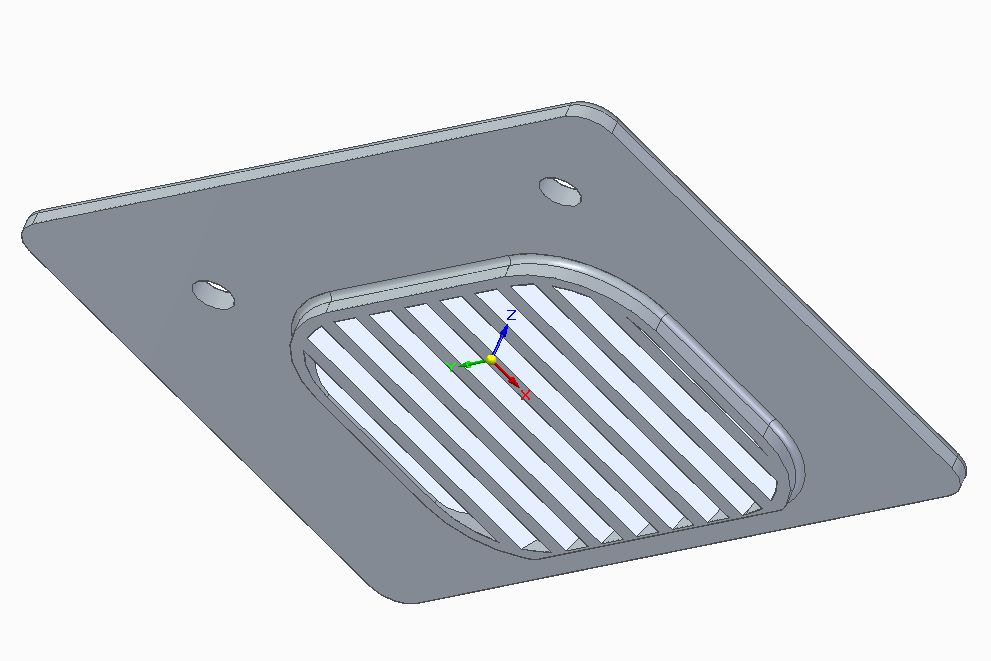
The Rapid Prototyping process begins with conceptualization, which means creating an idea for a product. At this stage, designers and engineers work on the product vision, defining its functionality, appearance, and technical specifications.
2. 3D Scanning and Reverse Engineering
3D scanning is a technology that allows you to transform a physical object into a digital 3D model. 3D scanners use various technologies, such as laser scanning, structured light, or photogrammetry, to accurately scan the object's surface and create its digital representation.
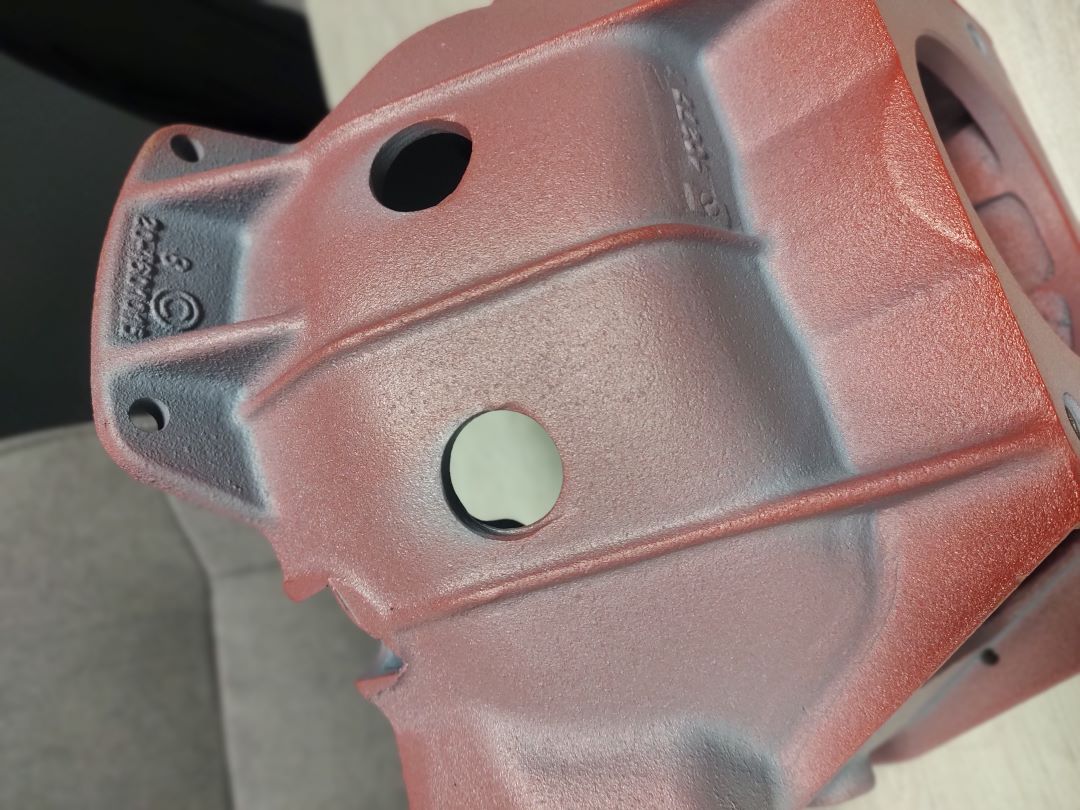
Reverse engineering is a process where an existing physical object is analyzed and turned into a digital 3D model. This is particularly useful when reproducing complex shapes or components that are not available in digital form. Reverse engineering includes 3D scanning, processing scan data, and creating a precise CAD model that can be further modified and used in the rapid prototyping process.

3. Preparing the Model for Printing
When the 3D model is ready, the next step is to prepare it for printing. This involves converting the model into a format suitable for the selected rapid prototyping technology. The most commonly used format is STL (Stereolithography), which turns the model’s surfaces into a triangle mesh.
At this stage, a quality check is often performed to ensure the model is free of errors that could affect the print quality. Additionally, the model can be optimized to minimize material usage and printing time.
4. Finishing and Post-Processing
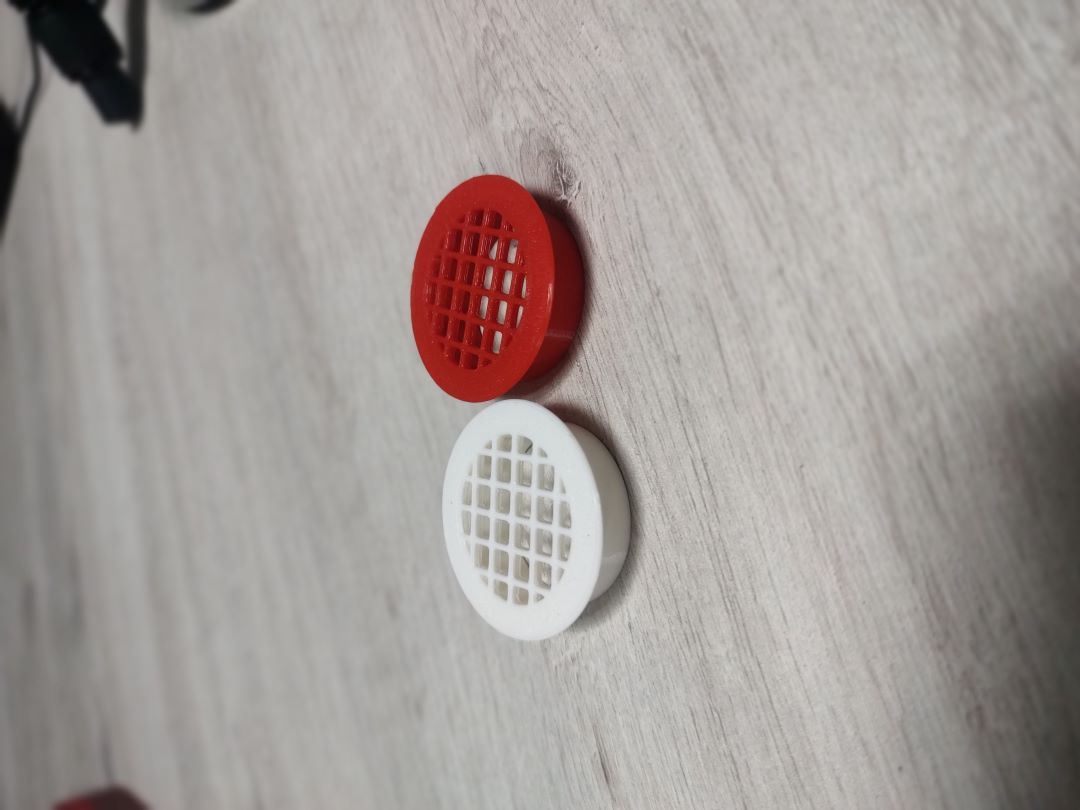
Once the production process is complete, the prototype often requires additional finishing work. This may include sanding, painting, assembling individual parts, or additional curing (in some 3D printing technologies).
Finishing aims to give the prototype a final appearance and functionality similar to the finished product. This process may also include testing and quality control to ensure the prototype meets all requirements and specifications.
5. Testing and Validation
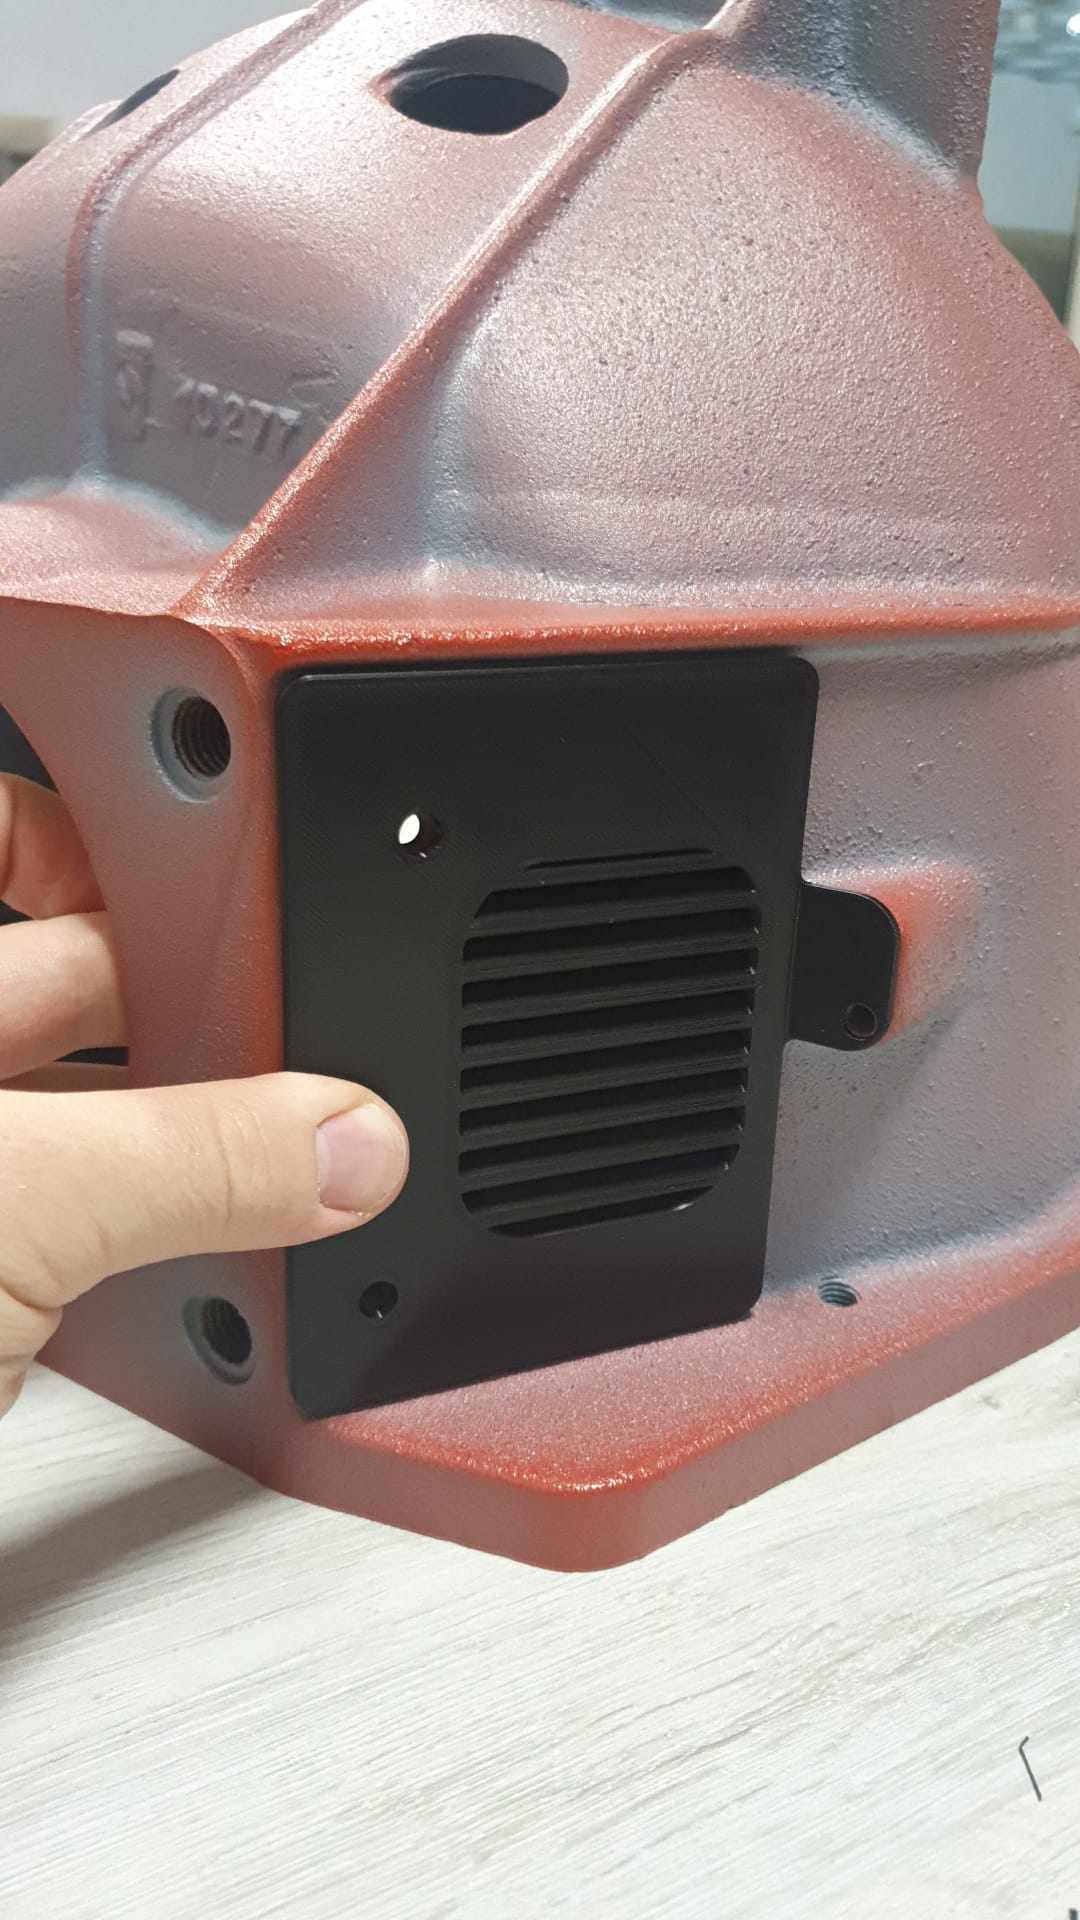
The final but crucial stage of the rapid prototyping process is testing and validating the prototype. At this stage, the prototype is thoroughly checked for compliance with design assumptions, functionality, ergonomics, and durability.
Testing can include both mechanical and usability tests to identify any issues or areas for improvement. Test results are analyzed, and if necessary, modifications are made to the design, which may lead to further iterations of the rapid prototyping process.
In Same Category
- Kontrola jakości 3D - Skanowanie laserowe i analiza CAD vs SKAN w przemyśle | 3D Customs
- Inżynieria odwrotna w praktyce: Cyfrowa rekonstrukcja geometrii 3D | 3D Customs
- Zaawansowane modelowanie i projektowanie CAD | 3D Customs
- Wytwarzanie przyrostowe w praktyce. Jak wykorzystać druk FDM i SLS w produkcji? | 3D Customs
- Skanowanie 3D - precyzja, której wymaga współczesna inżynieria